Simple Steps on How to Connect Arlo Base Station to Wifi
Follow these steps to connect the Arlo base station to the Wifi network.
·
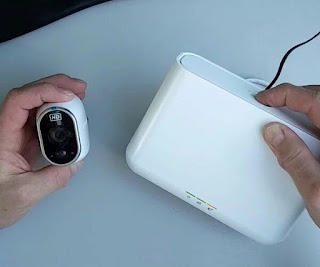
- First, you have to connect the base station to the Wifi router with the help of an Ethernet Cable, which turns the base station on. You can also do this by pressing the On-Off button on the device.
- After two minutes, the Internet Led and power LED on the base station will turn green. It will turn blue if you use a single LED base station. This means that your base station of the smart hub is connected to the Wifi network.
Why My Arlo Camera Cannot Connect To The Internet?
If the Arlo web interface or Arlo app cannot connect to the internet or Arlo base station, then follow these instructions.
- First, you have to turn off the base station and also unplug the cable that connects the base station to the router.
- Now, reconnect the router to the base station and turn it on. Begin the installation process again to troubleshoot the errors.
- If Arlo is still not able to locate the base station, then note the color of the Internet LED on your base station.
- If the router’s LED does not turn on, then it means that there is a base station connection error or failure. Unplug and then connect them again to properly fix the problem.
- In case the LED is solid amber, there is a connection between the Wifi router and the base station, but there is an error connected with the cloud server of the Arlo. This could be due to the connection with your internet service provider or Wifi device. Simply put, there is an error with the connection between the Arlo cloud server and your Wifi.

How to Get Email Notifications/Alerts System?
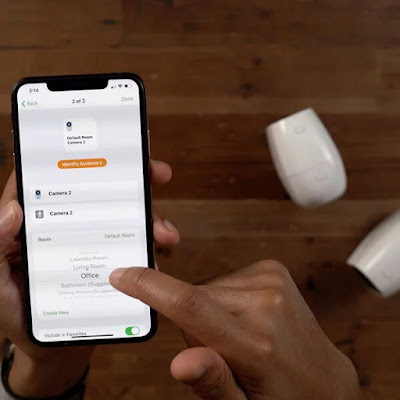
1. To begin with, you can either login into the account of Arlo or open the Arlo app.
2. Next, select the mode and further choose the ‘standalone camera’, this could be Arlo Q, Arlo go, Arlo Q Plus. You can also choose to select Arlo Pro or base station.
3. Right beside the Mode option, there is a pencil icon. Click on it if you want to do edits to the selection.
4. You can also check all the rules for the mode display on the new window, from where you can do edits and customize accordingly. You will see a pencil icon, so click it whichever rule you are looking to customize.
5. To get a push notification, scroll to the push notification and choose the check box. This will enable push notifications on your device.
6. In a similar way, if you want to get email alerts, then do the same.
7. For email alerts, you have to provide the email for which you want alerts as well. For this, click on the pencil icon, and give your email address. The email account with which you made your account gets added automatically.
8. Once done, tap on save.


Comments
Post a Comment